Patching Fixtures
When you're in your Project, the first step is to navigate to Patch in the Bottom Navbar. This is where you specify which fixtures the console will control. The process typically involves creating a patch in the console and then matching your physical fixtures with the corresponding DMX address and mode.
Steps for Patching Fixtures:
Add Fixtures:
- In the Patch tab, tap the
+ Add Fixturesbutton at the top left. - Your previously patched fixture profiles in this project are available on the My Show Fixtures page for easy re-patching of the same fixture types.
- To add more, tap
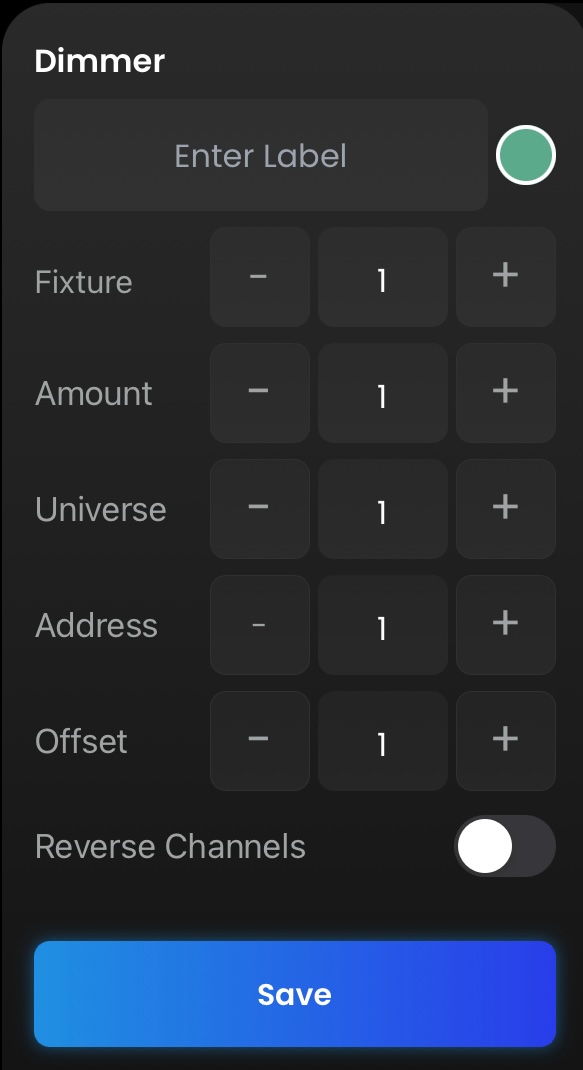
Add from Databaseat the top left or to simply patch Generic 8-Bit Dimmers selectPatch Dimmers.
- In the Patch tab, tap the
Search for Fixtures:
- Search by Manufacturer, Fixture Name, and Mode for quick results.
- Use the star icon ⭐ to favorite commonly used profiles for easy access across devices.
Patching Your Fixture:
- After finding your desired fixture, tap the
Patchbutton, which also displays the fixture's DMX footprint ie. Patch (14). - The visual patch guide appears. On the left, you can modify the Fixture Number, change the quantity, and specify the patch location.

- Use the Reverse Channels option in case your crew hung the lights backwards:
- After finding your desired fixture, tap the
Before Reversing:
| After Reversing:
|
Visual Layout:
The right-hand side of the screen shows a visual layout of all patched fixtures in the selected universe. Simply tap an address to set a new starting address for the fixture.

TIP
A general rule of thumb: Use a new 100-level for each fixture type, for example:
- Skypanels - Fix 101-105
- Astera Titan Tubes - Fix 201-208
- Kino Freestyles - Fix 301-303
- etc.
