Patch Overview
When you're in your Project, the first step is to navigate to Patch in the Bottom Navbar. This is where you specify which Fixtures the console will control. The process typically involves creating a patch in the console and then matching your physical fixtures with the corresponding DMX address and mode.
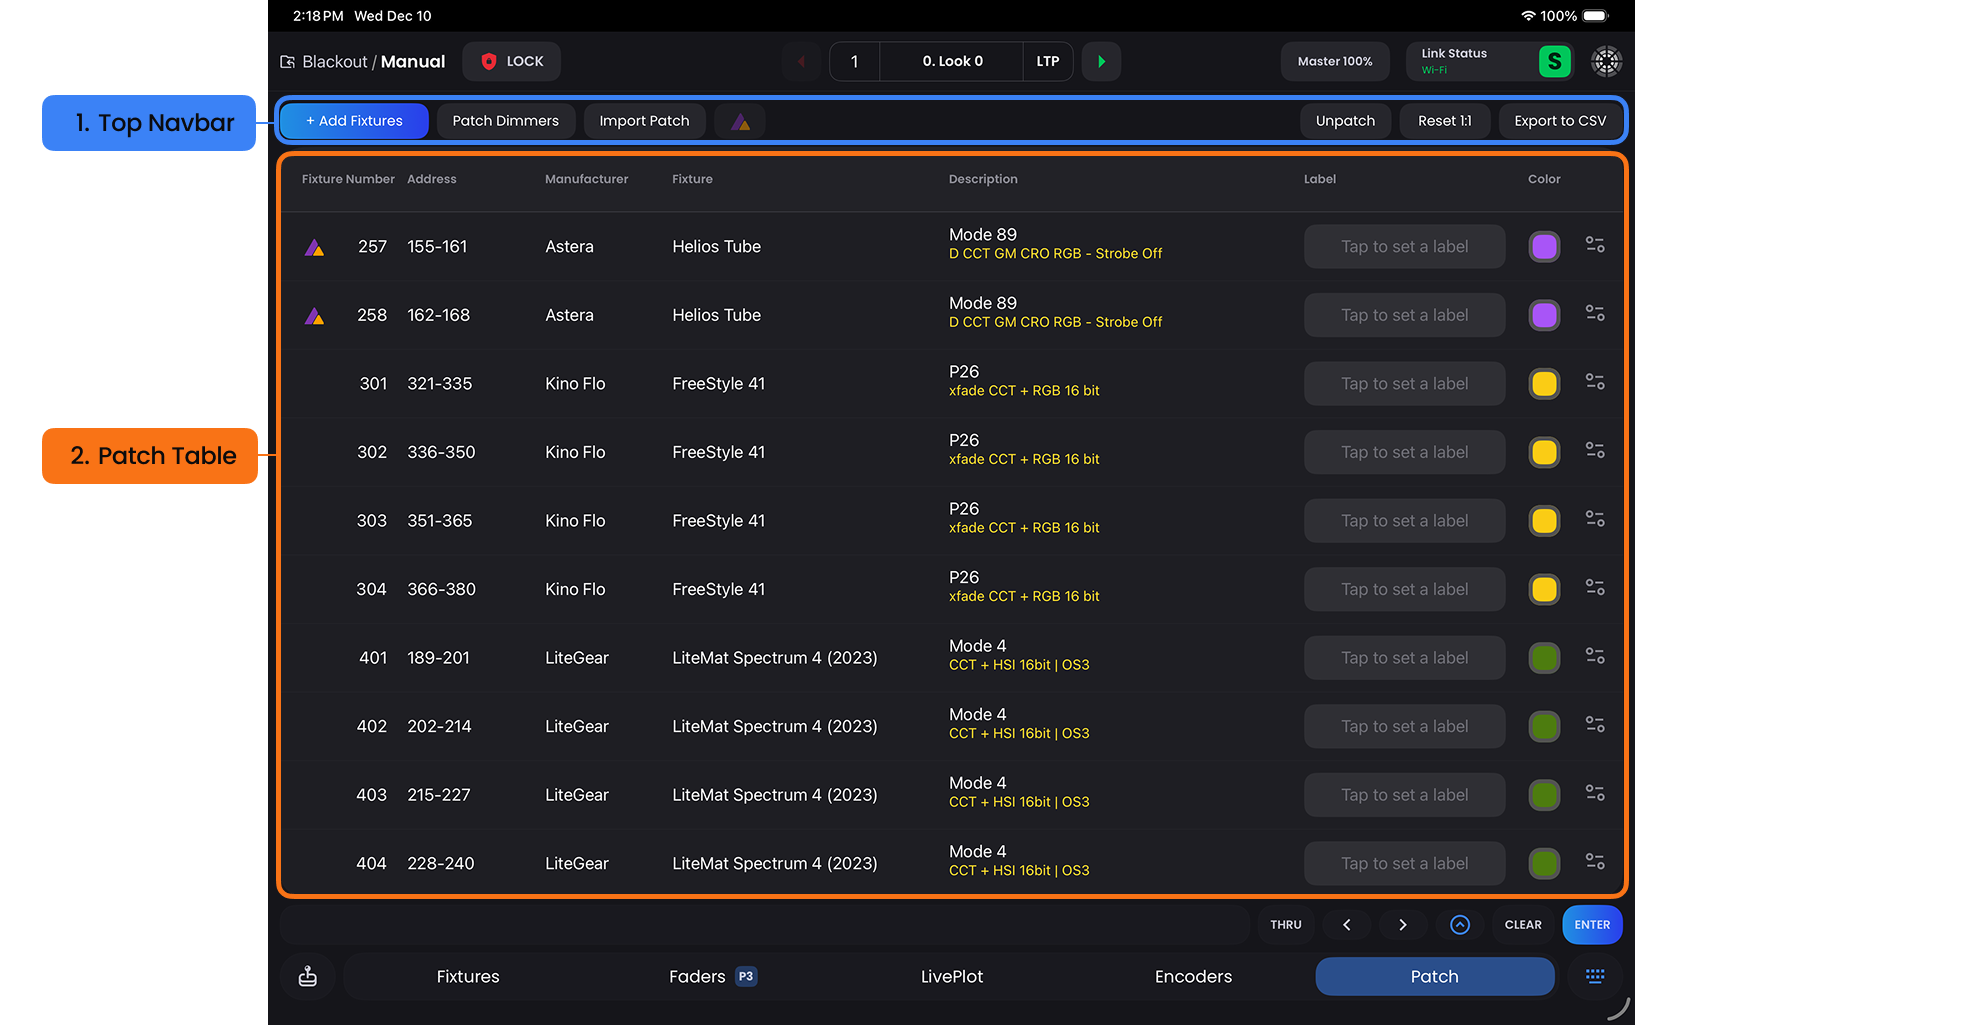
- Top Navbar
- These are your actionable items to navigate patching fixtures
The Top Navbar contains:
- + Add Fixtures - Tap this to find fixtures to patch
- Patch Dimmers - A fast and convenient way to add dimmers quickly. Tap this if you just need to patch dimmers (single channel, 8-bit, intensity only fixtures such as a Ratpac Dimmer Pack or ETC Dimmer Rack)
- Import Patch - Import a patch from another console! Supported consoles: MA2/3, HOG, ETC EOS, Chauvet, Chamsys, Blackout
 - Activates when you have patched Astera fixtures and are connected to an ART7 WiFi box for configuration of your Astera lights (see Astera Configuration for details)
- Repatch (at least 1 patch selected) - This will allow you to repatch the Fixture's universe, address, or change the Fixture Number
- Swap (2 patches selected) - This will swap the addresses of the two Fixtures selected
- Deselect All (>1 patch selected) - This will deselect any Fixtures selected
- Unpatch - This will unpatch whatever fixtures you have selected or unpatch all if nothing is selected
- Reset 1:1 - This will straight patch Universe 1 (ie. Fixture 1 into Address 1, Fixture 2 into Address 2...)
- Export - Exports a CSV for sharing your patch information
- Patch Table
- This is a table view that displays your Fixture hookup, showing the relationship between the Fixture number you assign and the DMX address where the unit listens for control data. It contains all key information needed to properly address and configure your fixtures in Blackout.
The Patch Table contains:
- Fixture Number - The unique number you assign to identify each Fixture
- Address - The starting DMX address for this Fixture. Set your physical fixture to this address (1-512)
- Manufacturer - The manufacturer name
- Fixture - The fixture model name
- Description - The DMX mode/profile and description that defines which parameters the console can control
- Label - An optional custom label for your Fixture
- Color - The color assigned to your Fixture for use throughout the app such as the pillbox outline in Fixtures
- Additional Settings - Configuration options for moving lights (see picture below):
Invert Pan- Reverses pan direction (left becomes right)Invert Tilt- Reverses tilt direction (up becomes down)Swap Pan/Tilt- Exchanges pan and tilt axes
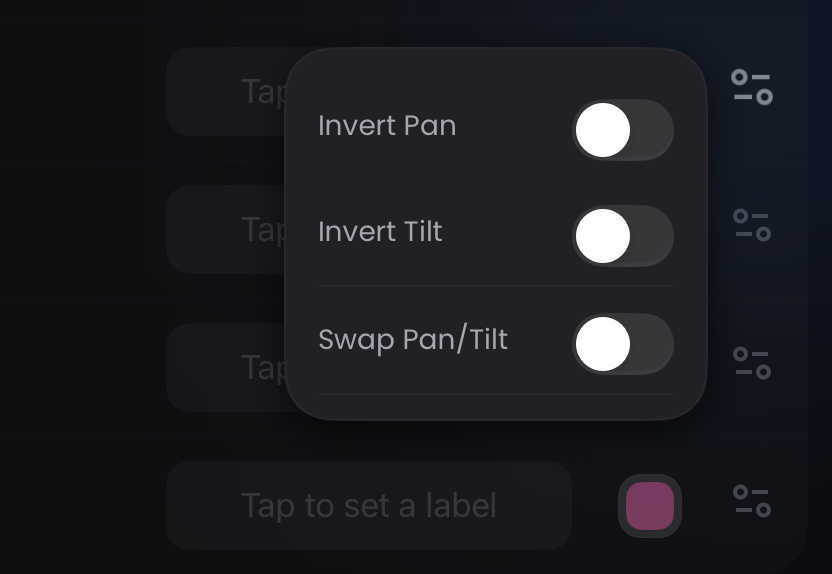
TIP
These additional settings are useful when Fixtures are hung in different orientations.
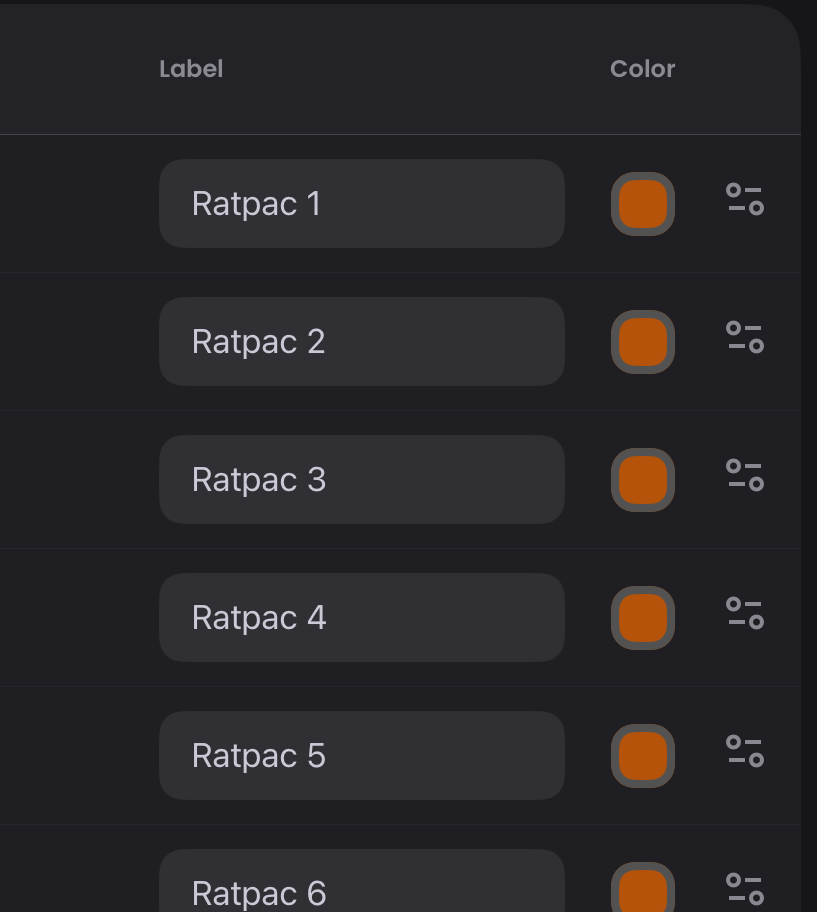
Auto-Incrementing Labels
Select multiple Fixtures, then type a label like Ratpac 1 in any of their label fields. The label will automatically increment through your entire selection (Ratpac 1, Ratpac 2, Ratpac 3...)
Tap + Add Fixtures to begin patching. This will take you to the My Show Fixtures page.