Macros
Macros let you store a single command into a button for instant recall—just like typing into the command line, but with a single tap. They are perfect for automating repetitive actions and quickly applying favorite settings. You can use them to:
- Set Fixtures to specific values instantly
- Speed up your workflow for common tasks
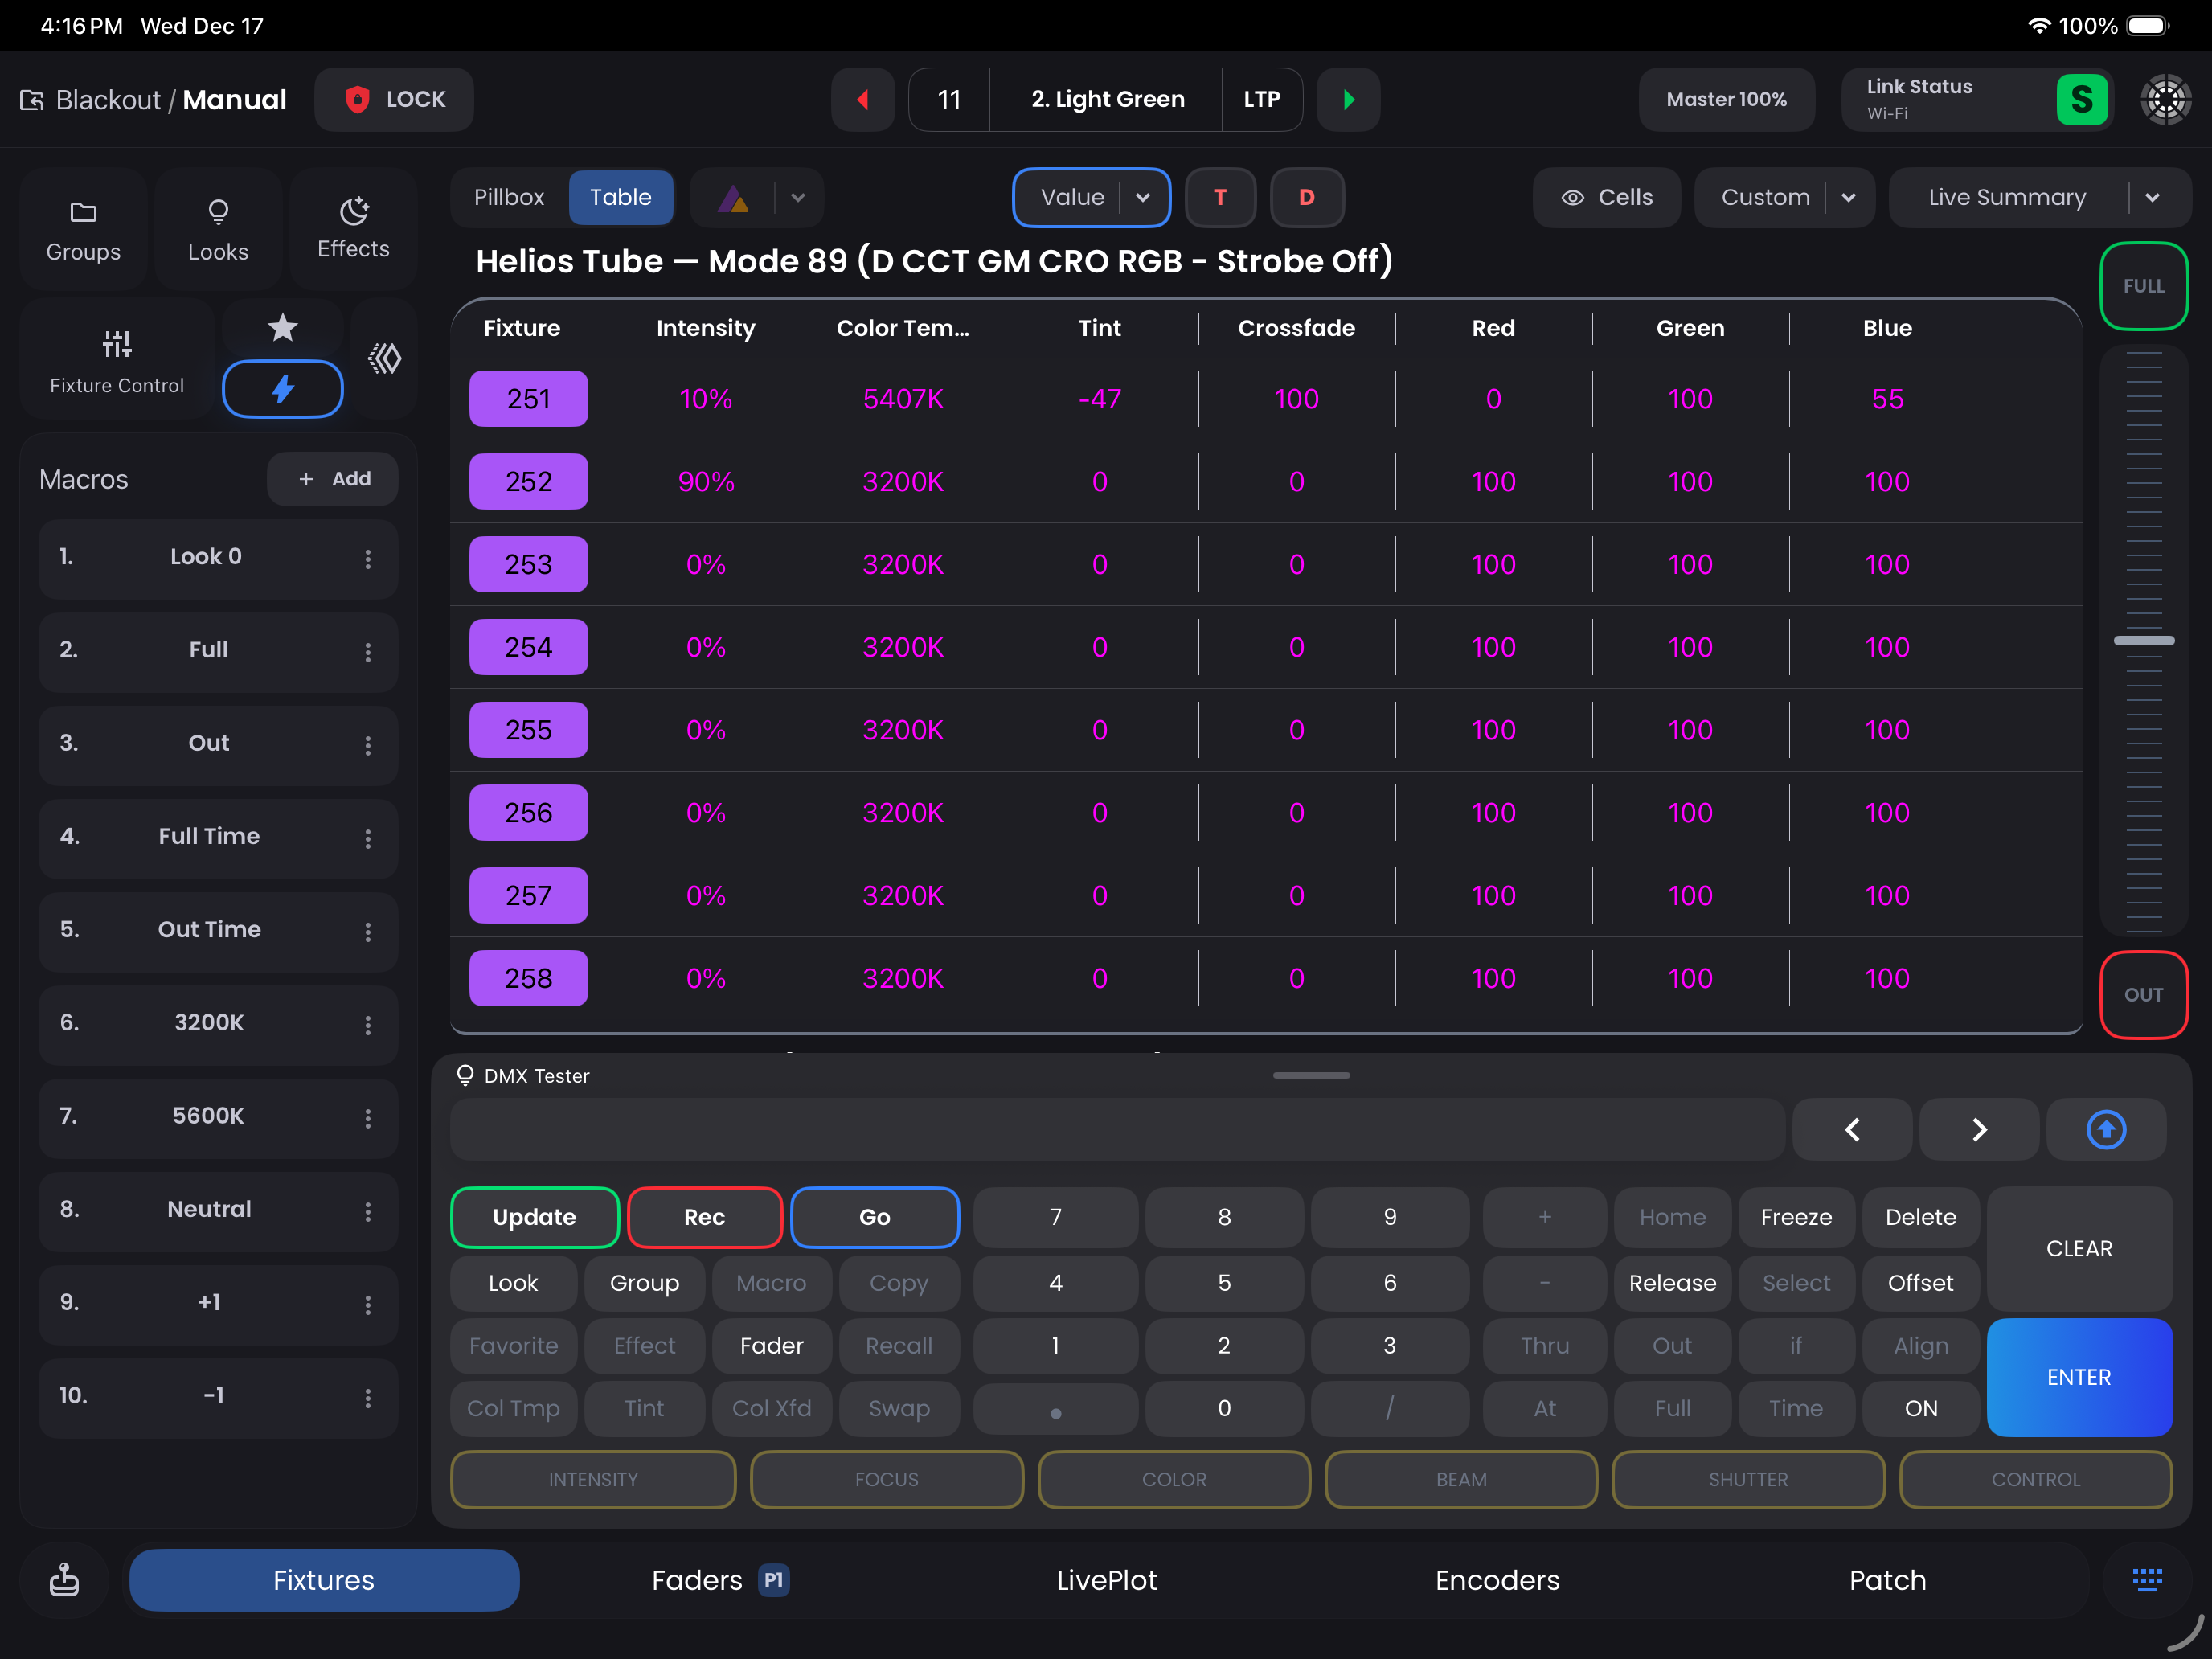
You'll find some pre-built Macros in the Macros sidebar, such as Full and Out for quick intensity changes.
Creating a Macro
- Tap the
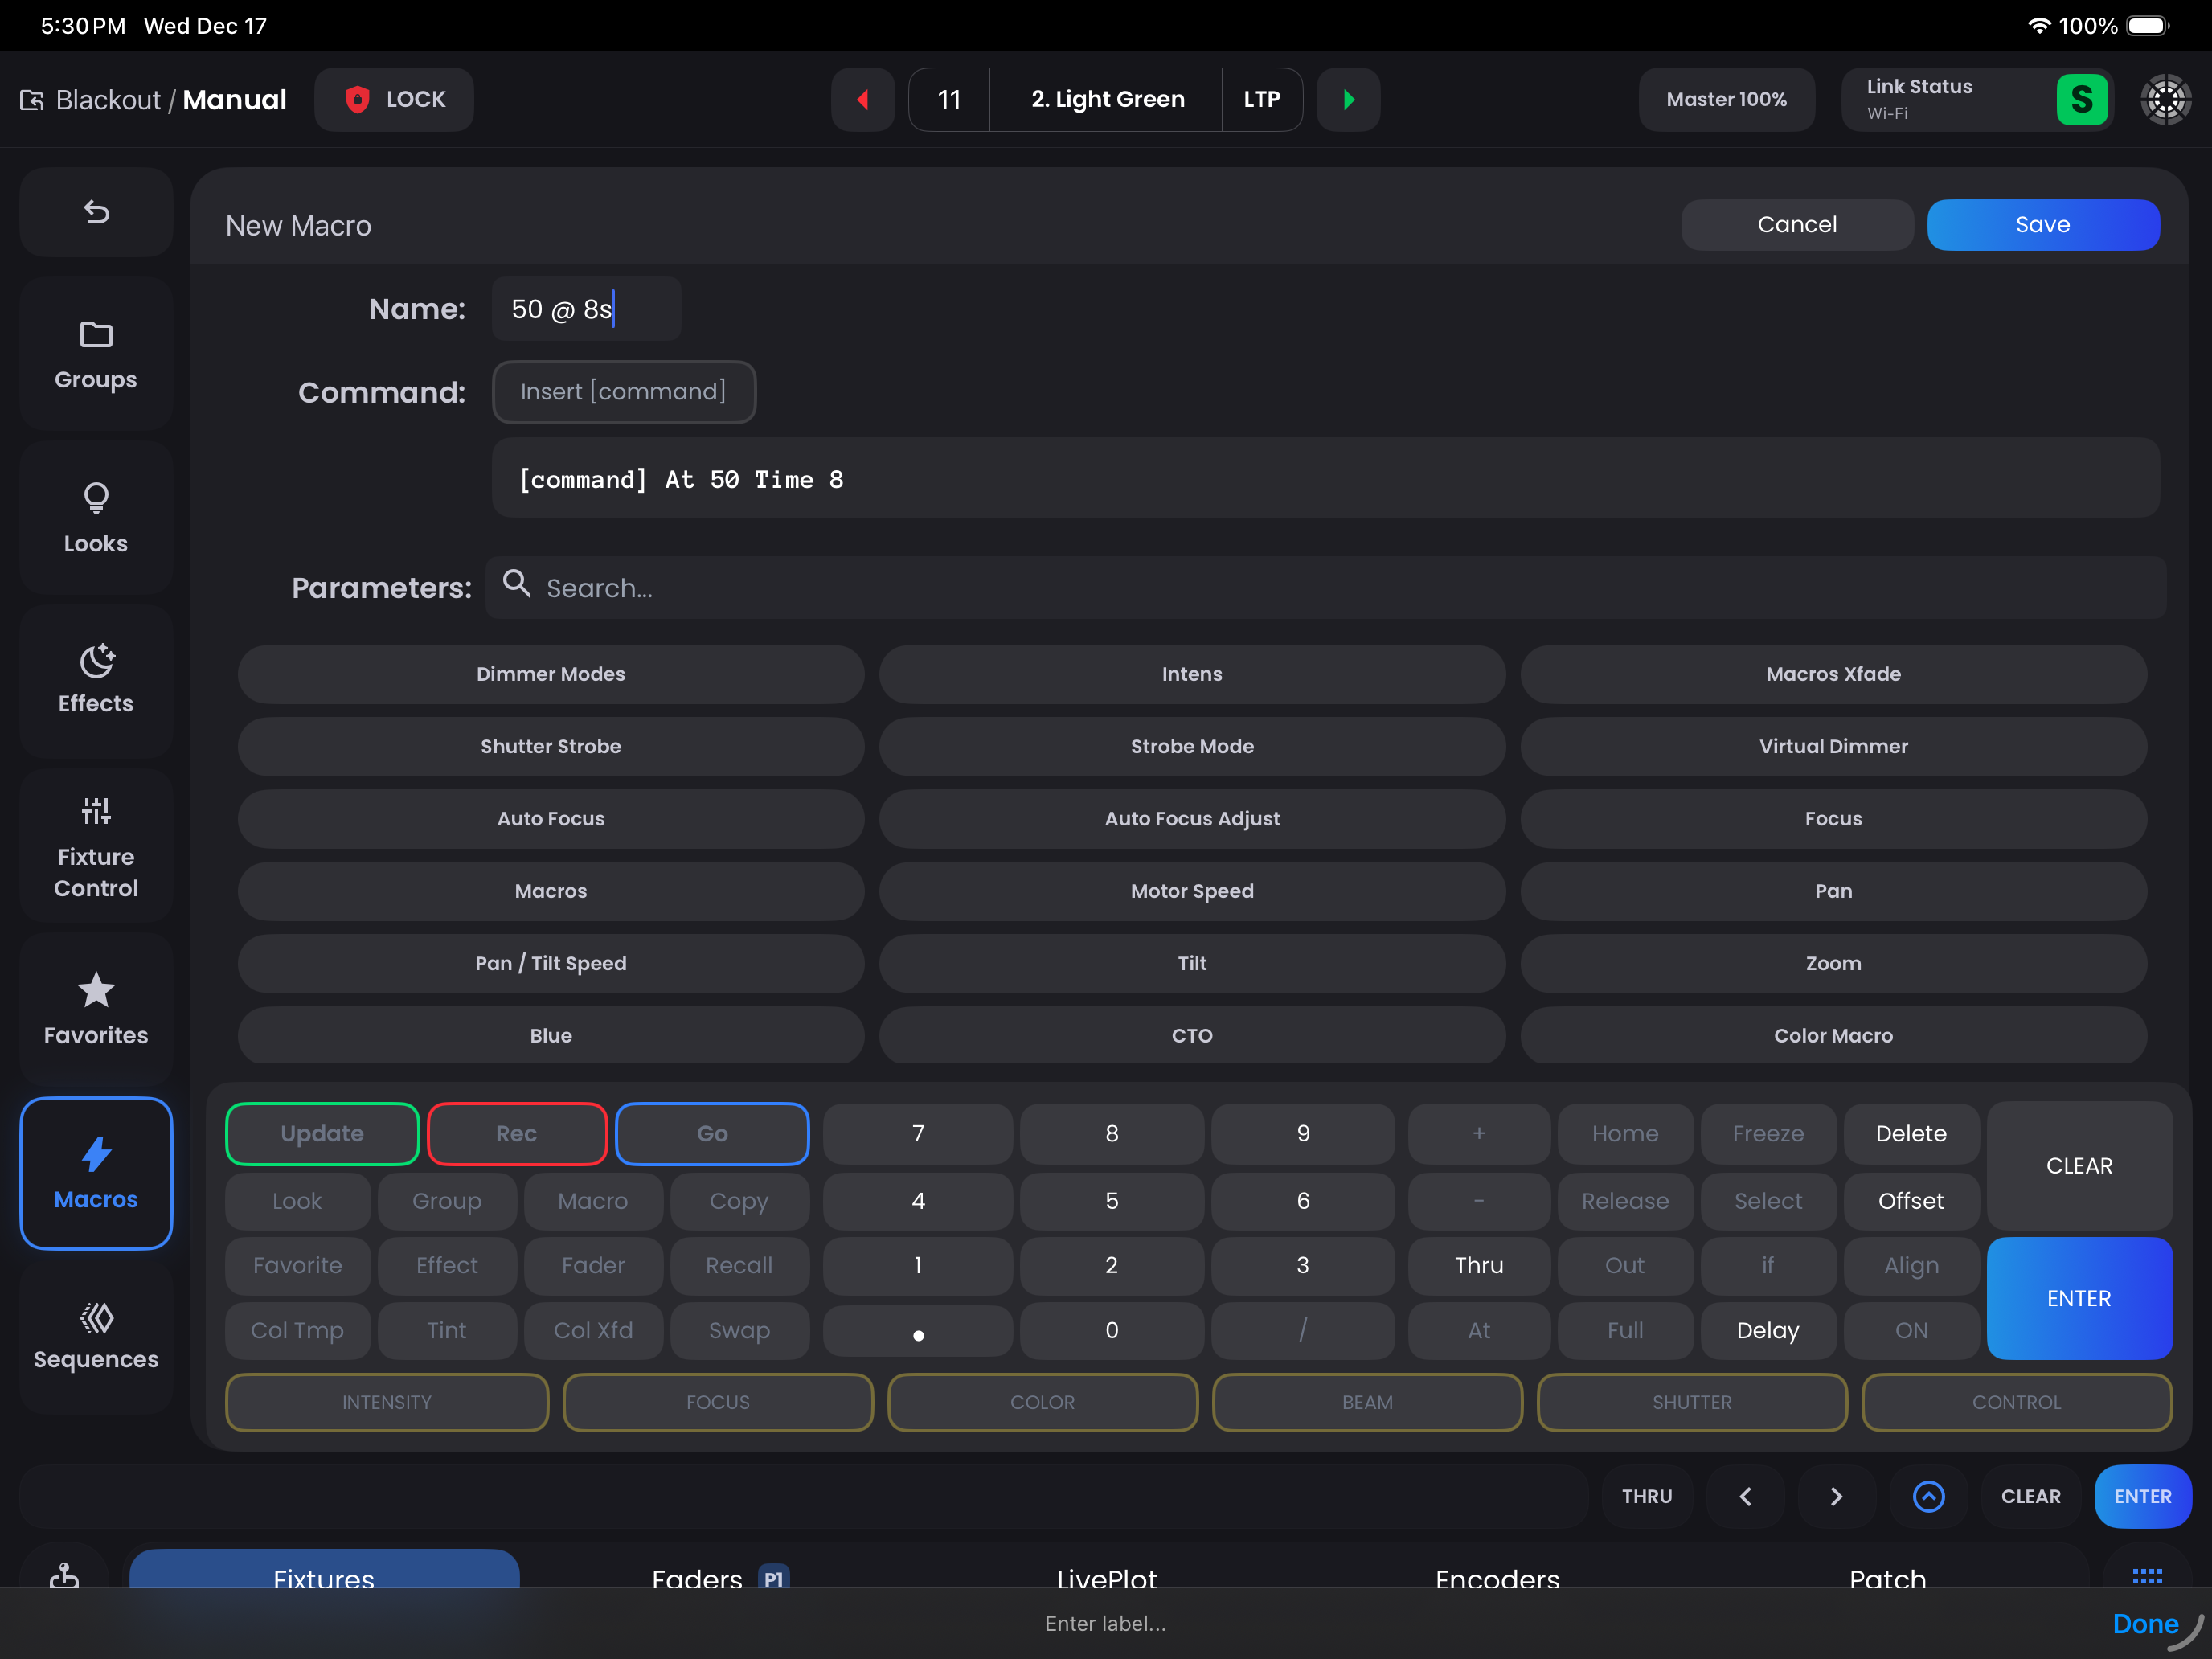
+ Addor+ Create Newbutton in the top right of the Macros sidebar or Macros Expanded view - Enter a label for your Macro ie. "One Stop Up", "Xfade at Full"
- Use the
[Command]softkey to apply the Macro to your current selection - Type your command in the input field (just like the command line)
- Tap
Savein the top right
Each Macro can only store a single command. If the Macro can't be saved, the command is invalid and you'll need to correct it.
Understanding [Command]
Think of [Command] as representing your current selection. When you use [Command] in a Macro, it will take whatever Fixtures you have selected and apply the Macro syntax to them.
Example Macros
Color Temperature:
[Command] Color Temperature at 4400One Stop Up (Double Intensity):
[Command] at /200Half Intensity:
[Command] at /50Using Macros
- Select your Fixtures as needed
- Tap your Macro button in the sidebar
- The command will execute instantly—just as if you typed it manually
Managing Macros
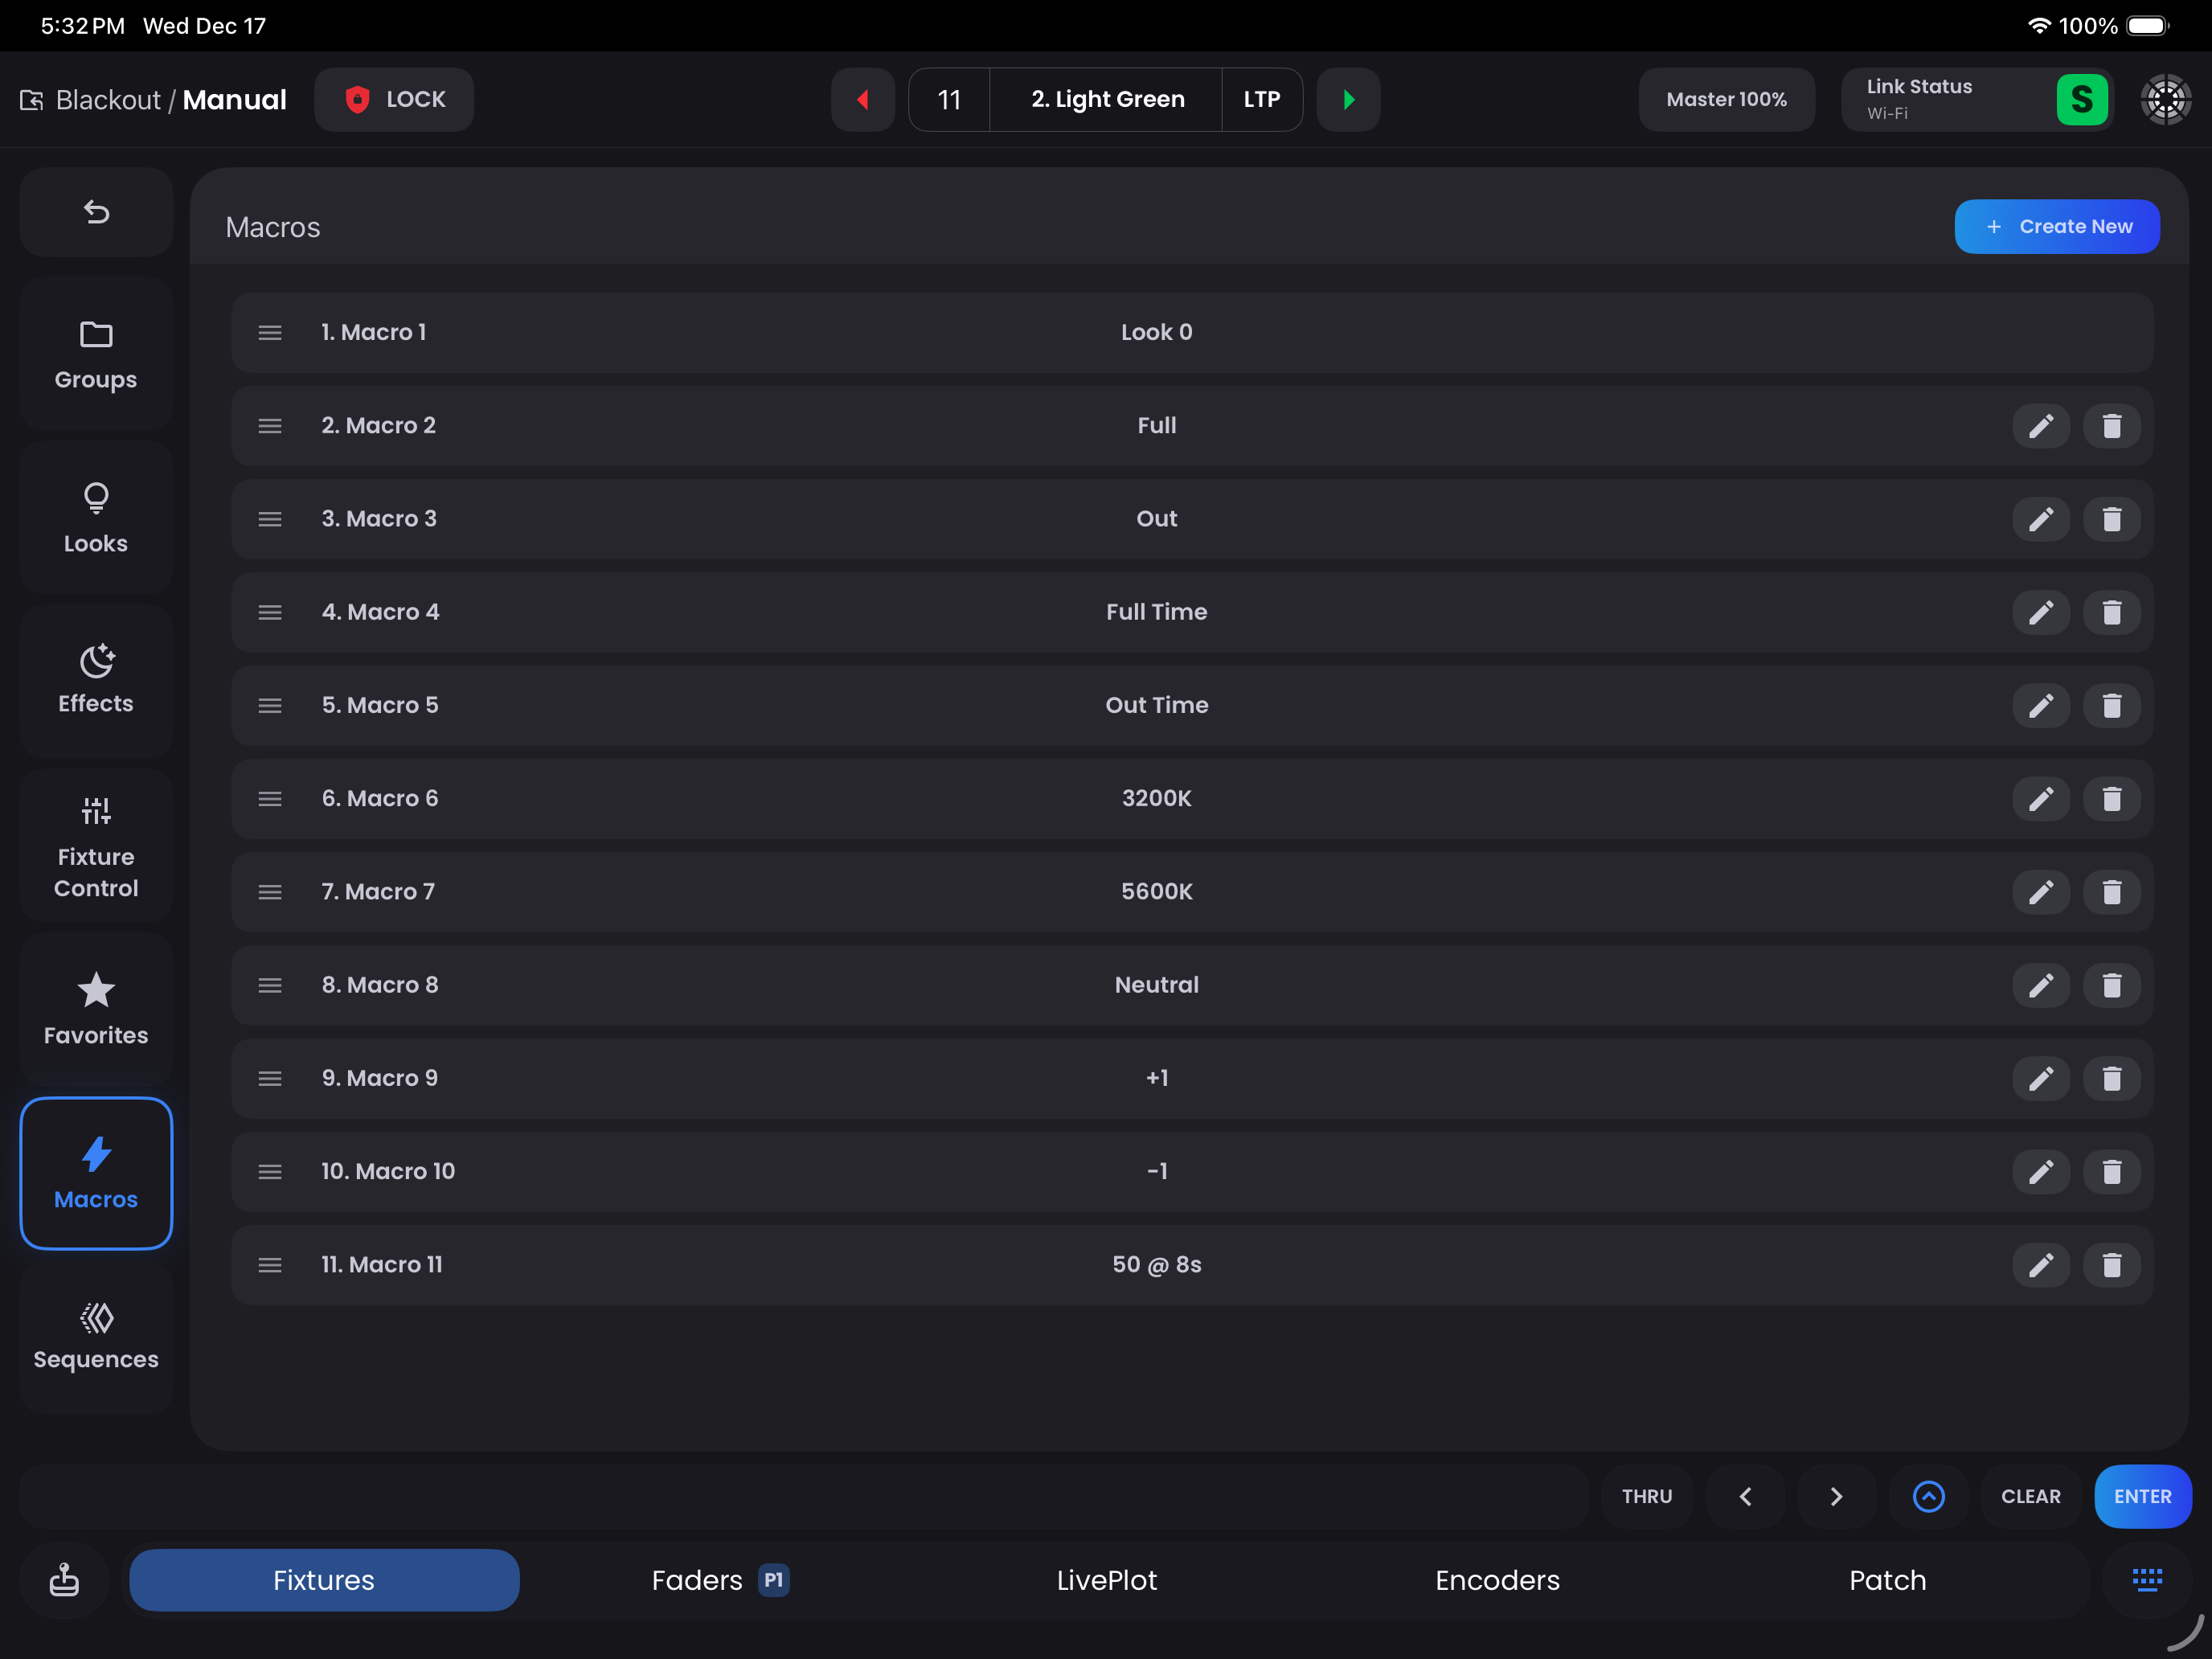
In Macros Expanded (double-tap the Macros tab or swipe it right), you can reorder your Macros by dragging the three-lines (density_medium) next to each item. You can also rename or delete Macros from this view.
Tips & Best Practices
- Use clear labels so you know what each Macro does at a glance
- Use the
[Command]softkey for Macros that work with your current selection - If you do something a lot of times, think about make a Macro for it!